
Before working the leather, what should you know about the press button?
The snap buttons are essential accessories in the leather world and leather goods. Whether it’s leather,fabric, or clothes they’re known for their strength and durability.
Two types of rivets buttons:
These steel buttons for leather work fall into two categories:
- The “ball” rivet buttons: the snap fastener that fits is similar to a small ball. In general, these are the most used.
- Snap buttons that are called “case” or “strong”: the snap fastener is made of a small metal rod, they are known for their even stronger closure.
How are they constituted?
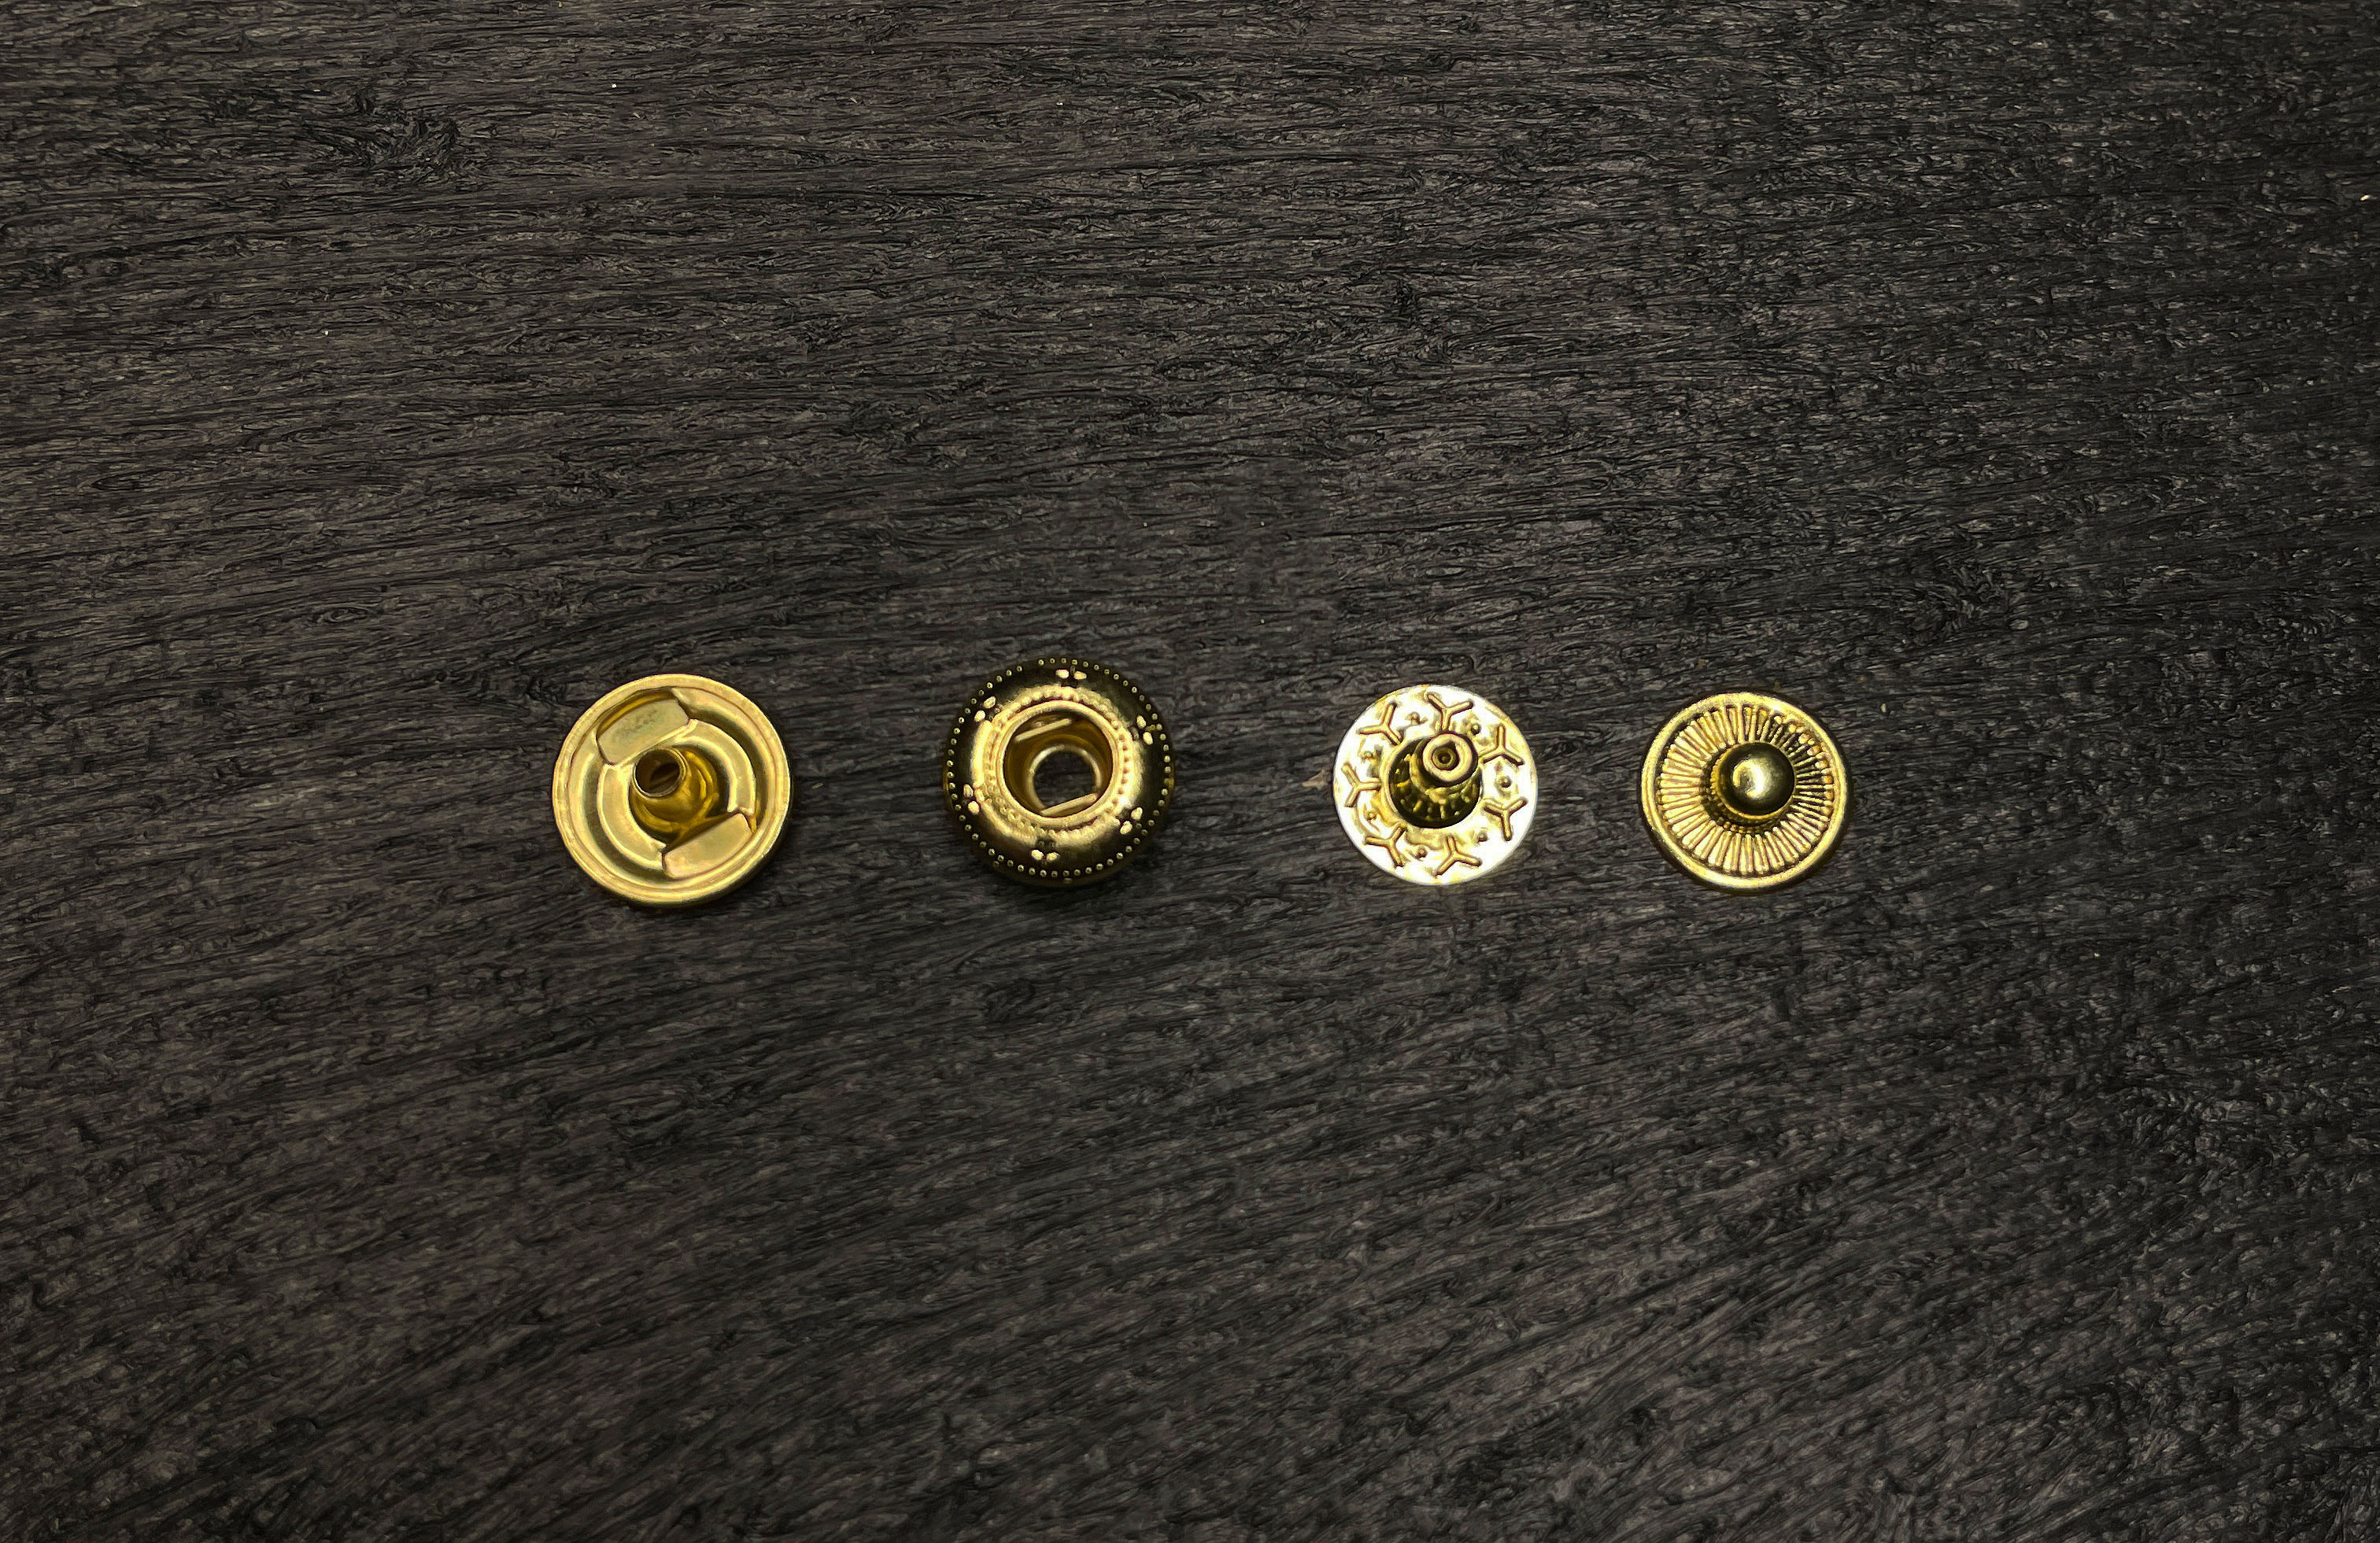
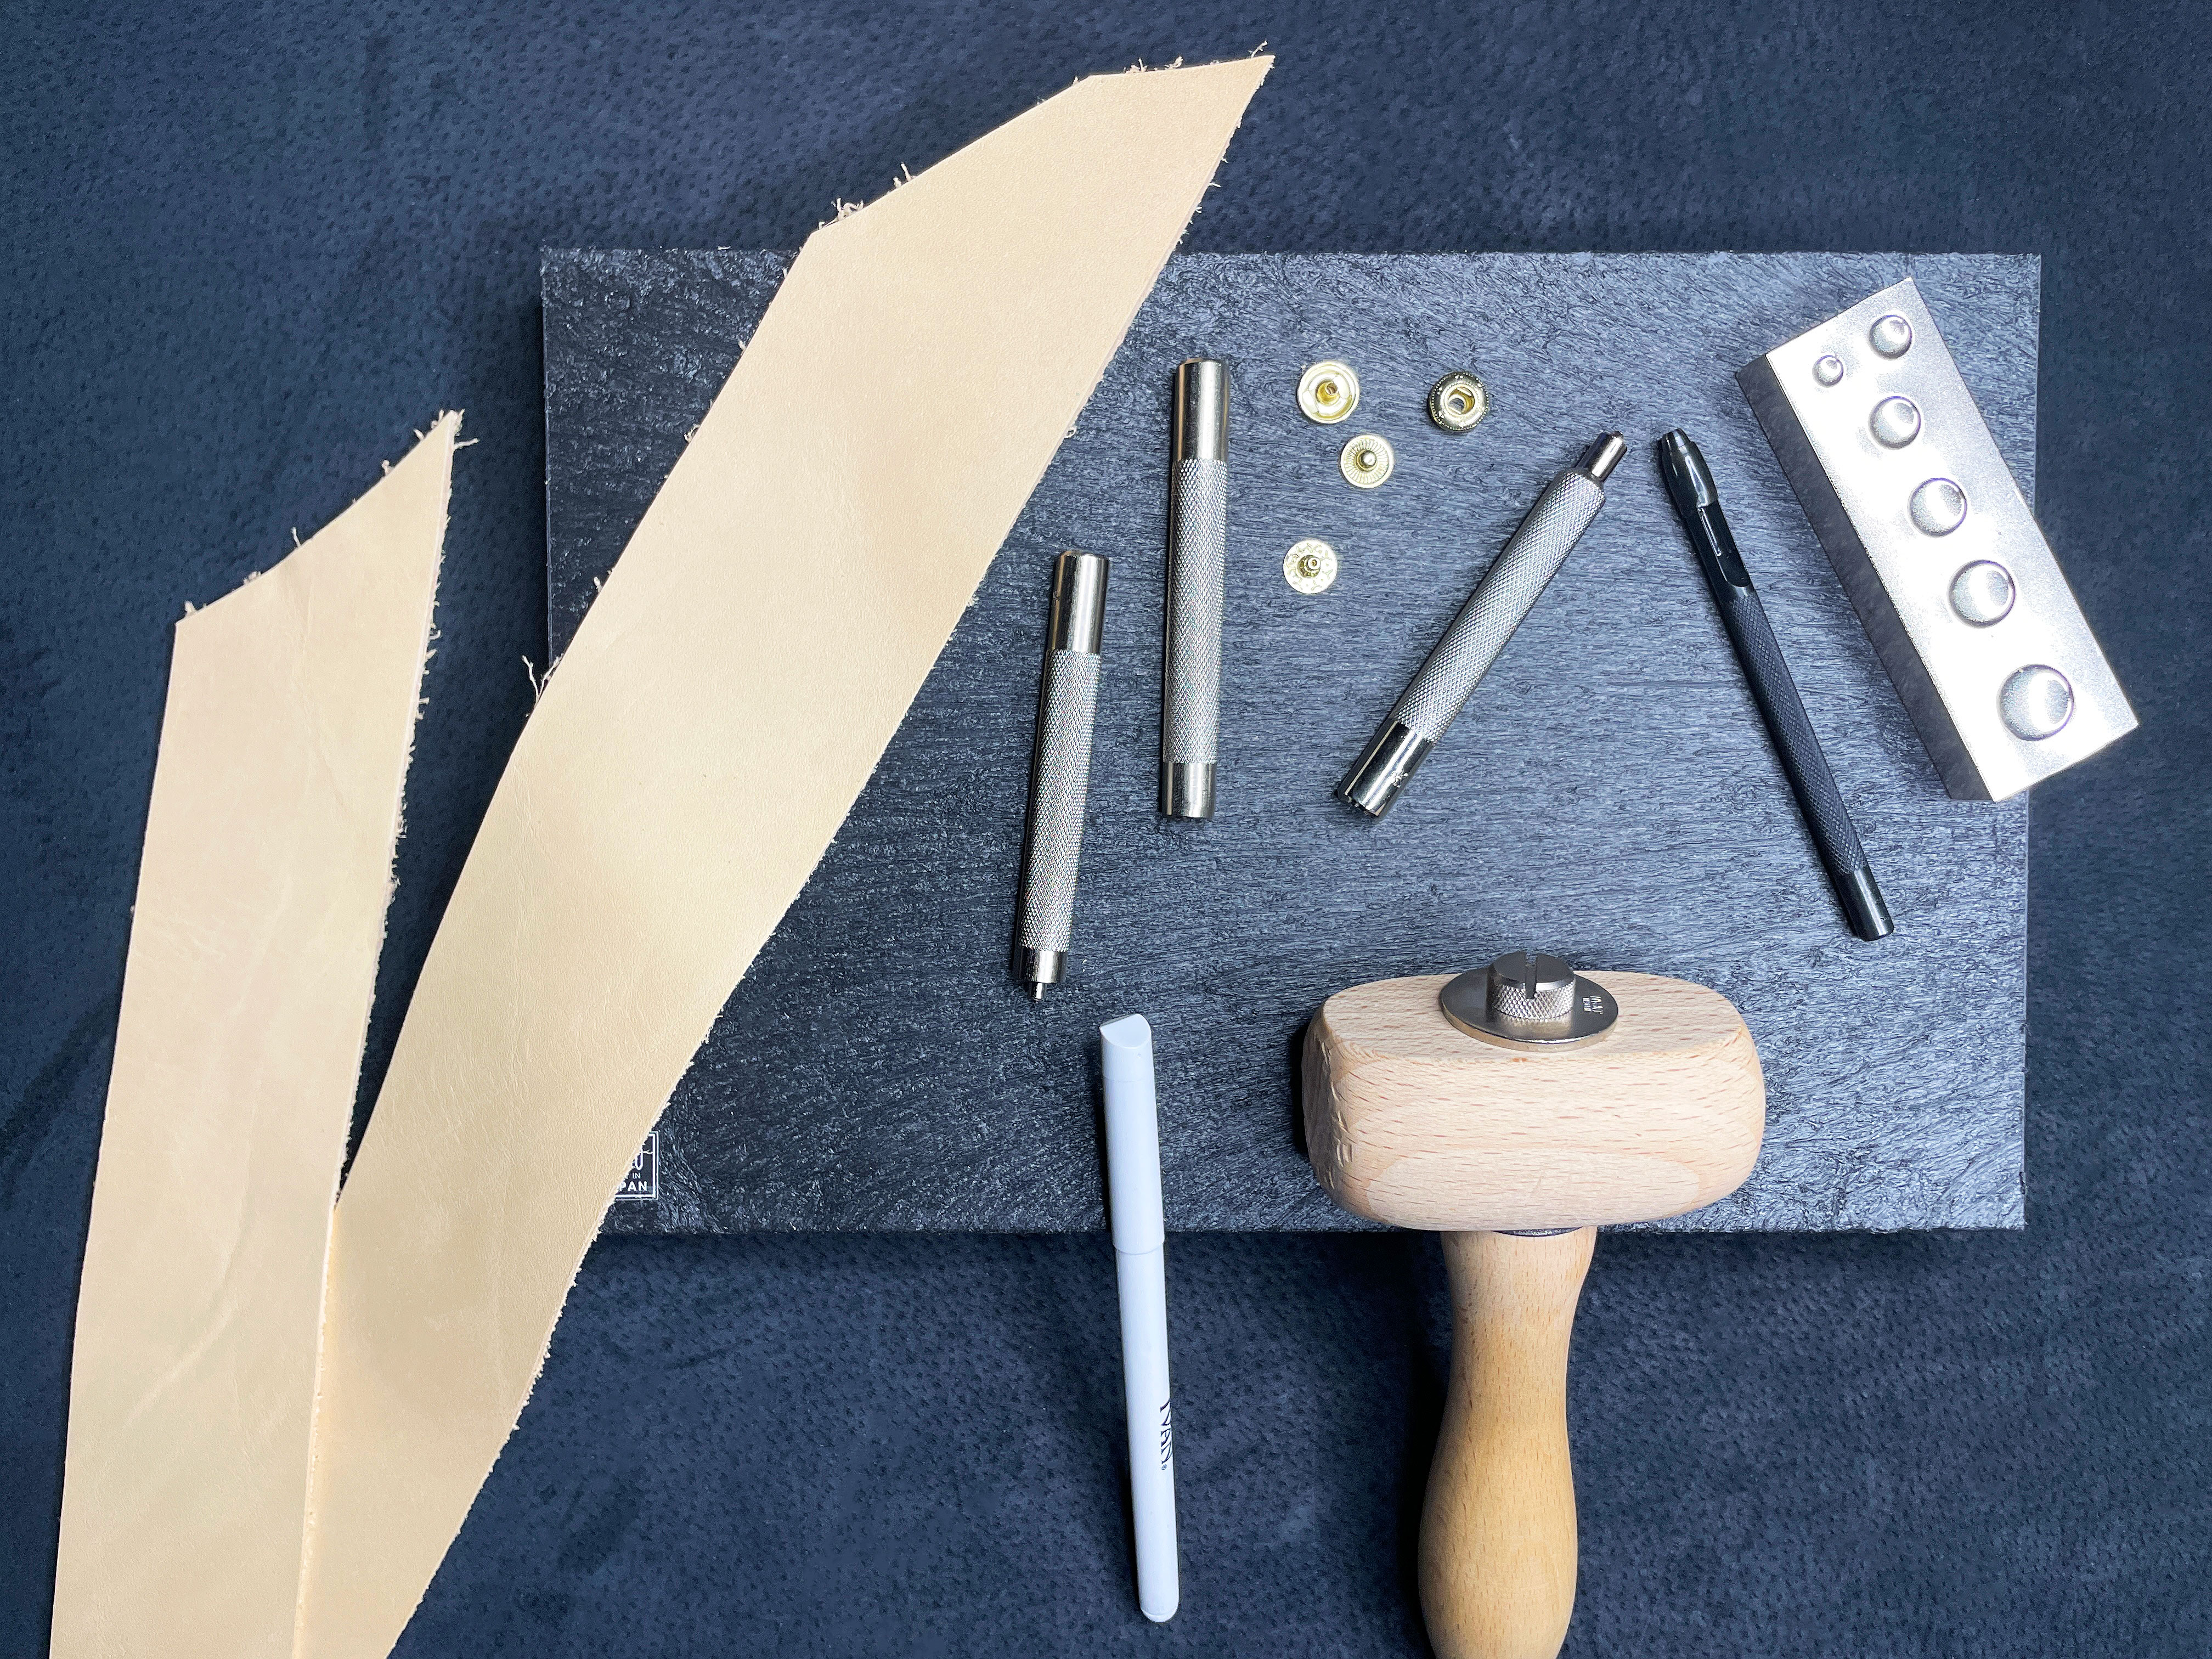
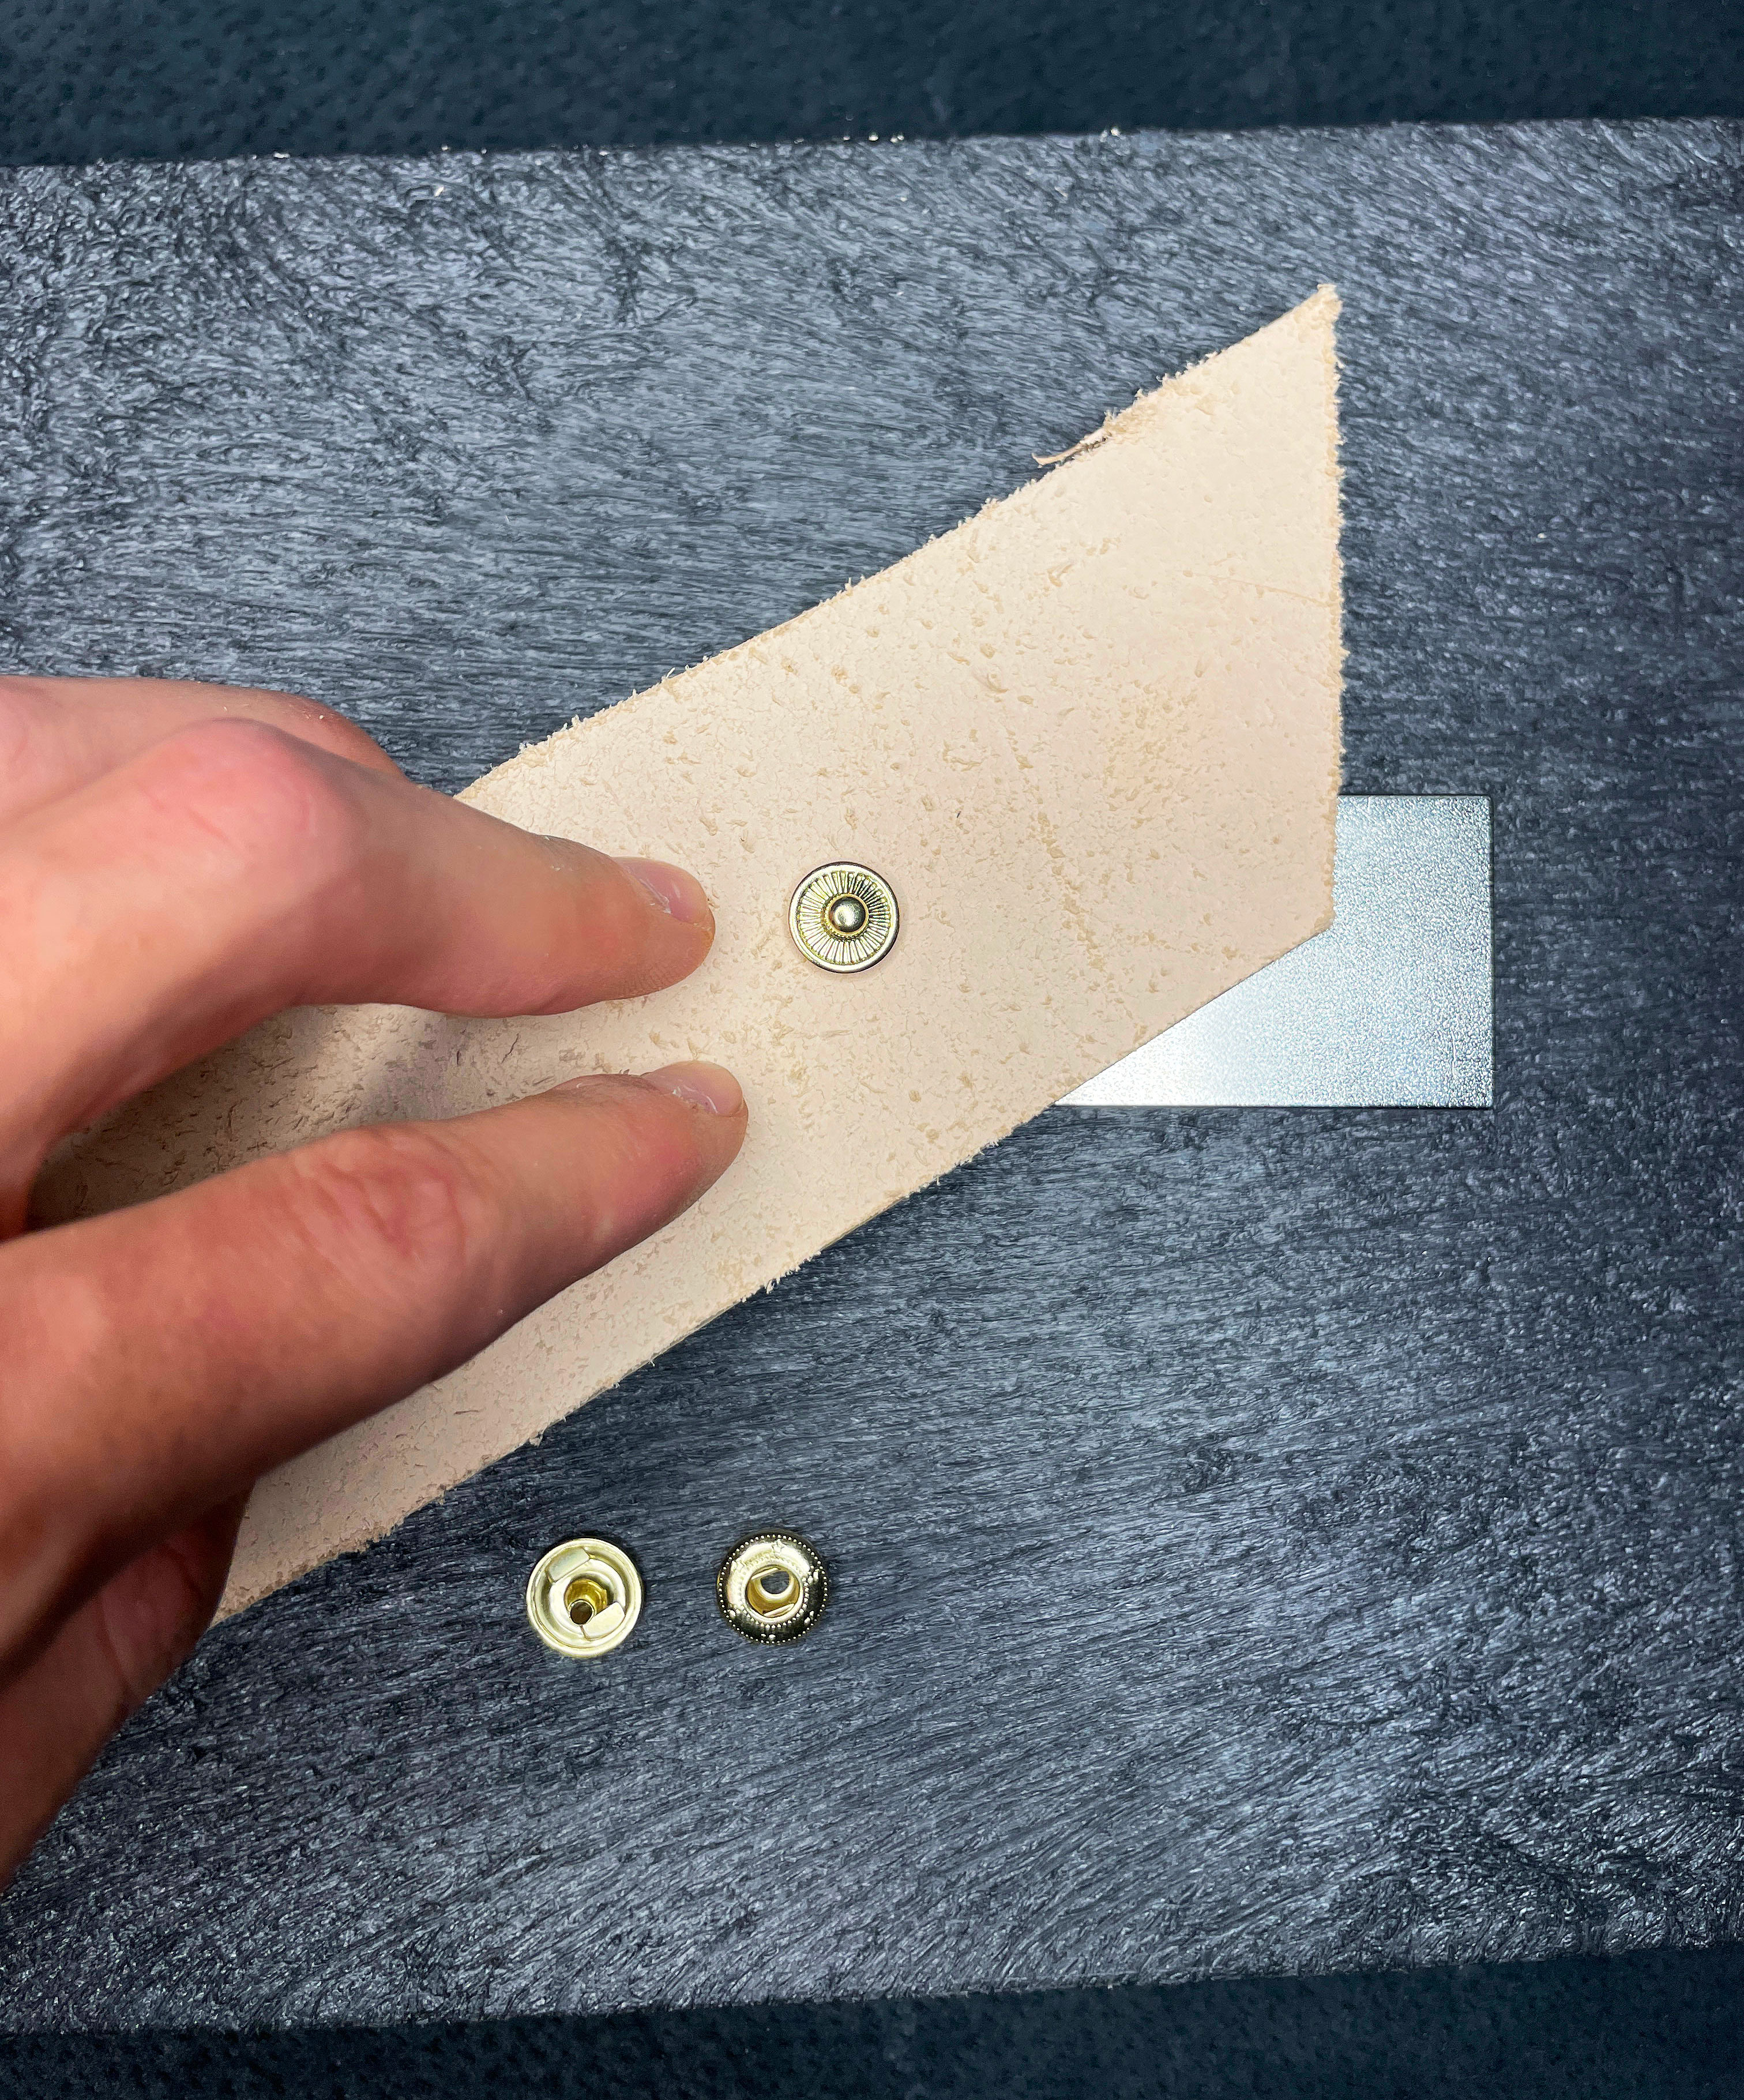
The buttons we offer for sale are a set of 4 metal pieces: two males and two females, which, once assembled, close on your pieces of leather.
Available in different diameters from 8 mm to 15 mm, they fit perfectly with leather thicknesses between 1 and 3 mm.
Choosing the finish and the diameter of your button will give you a unique and original result.
Now that the snap buttons are no longer secret to you, let’s get down to business.
How do I press a button manually?
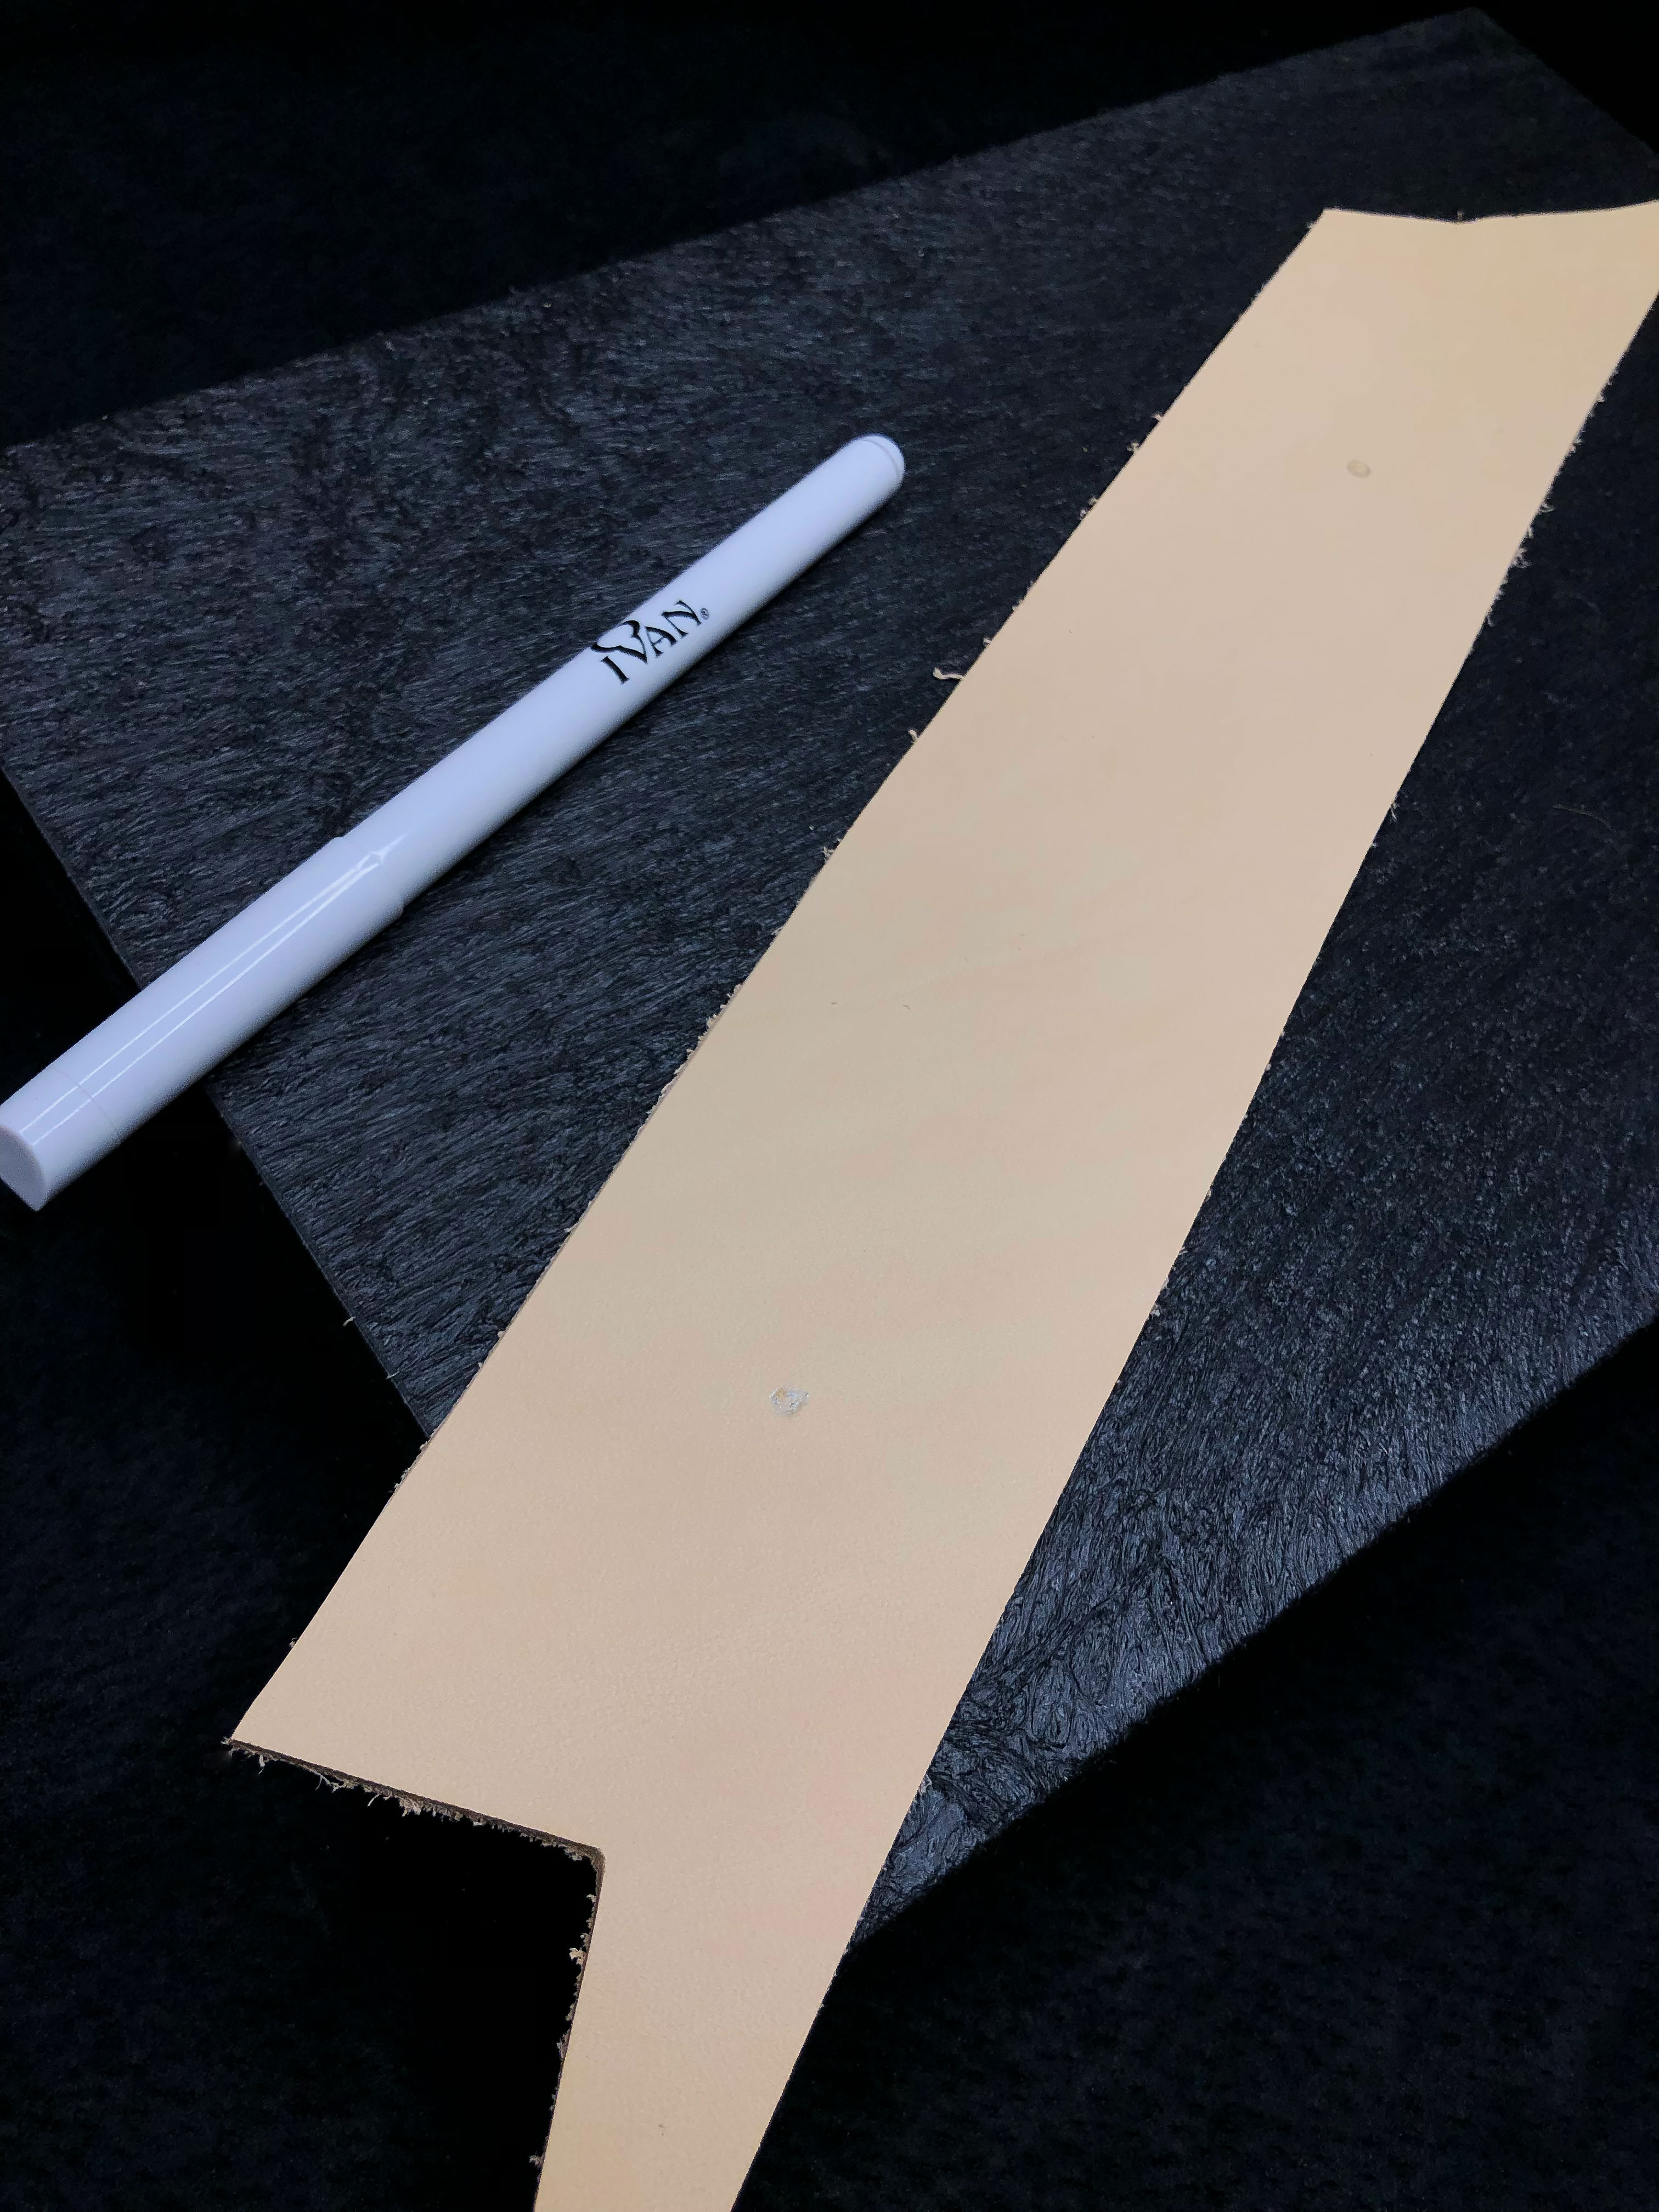
Step 1 :
Start by making your markers with a leather marking pen. This first is the guarantee of a precise and professional result because it facilitates the alignment of your future cuts.
Step 2 :
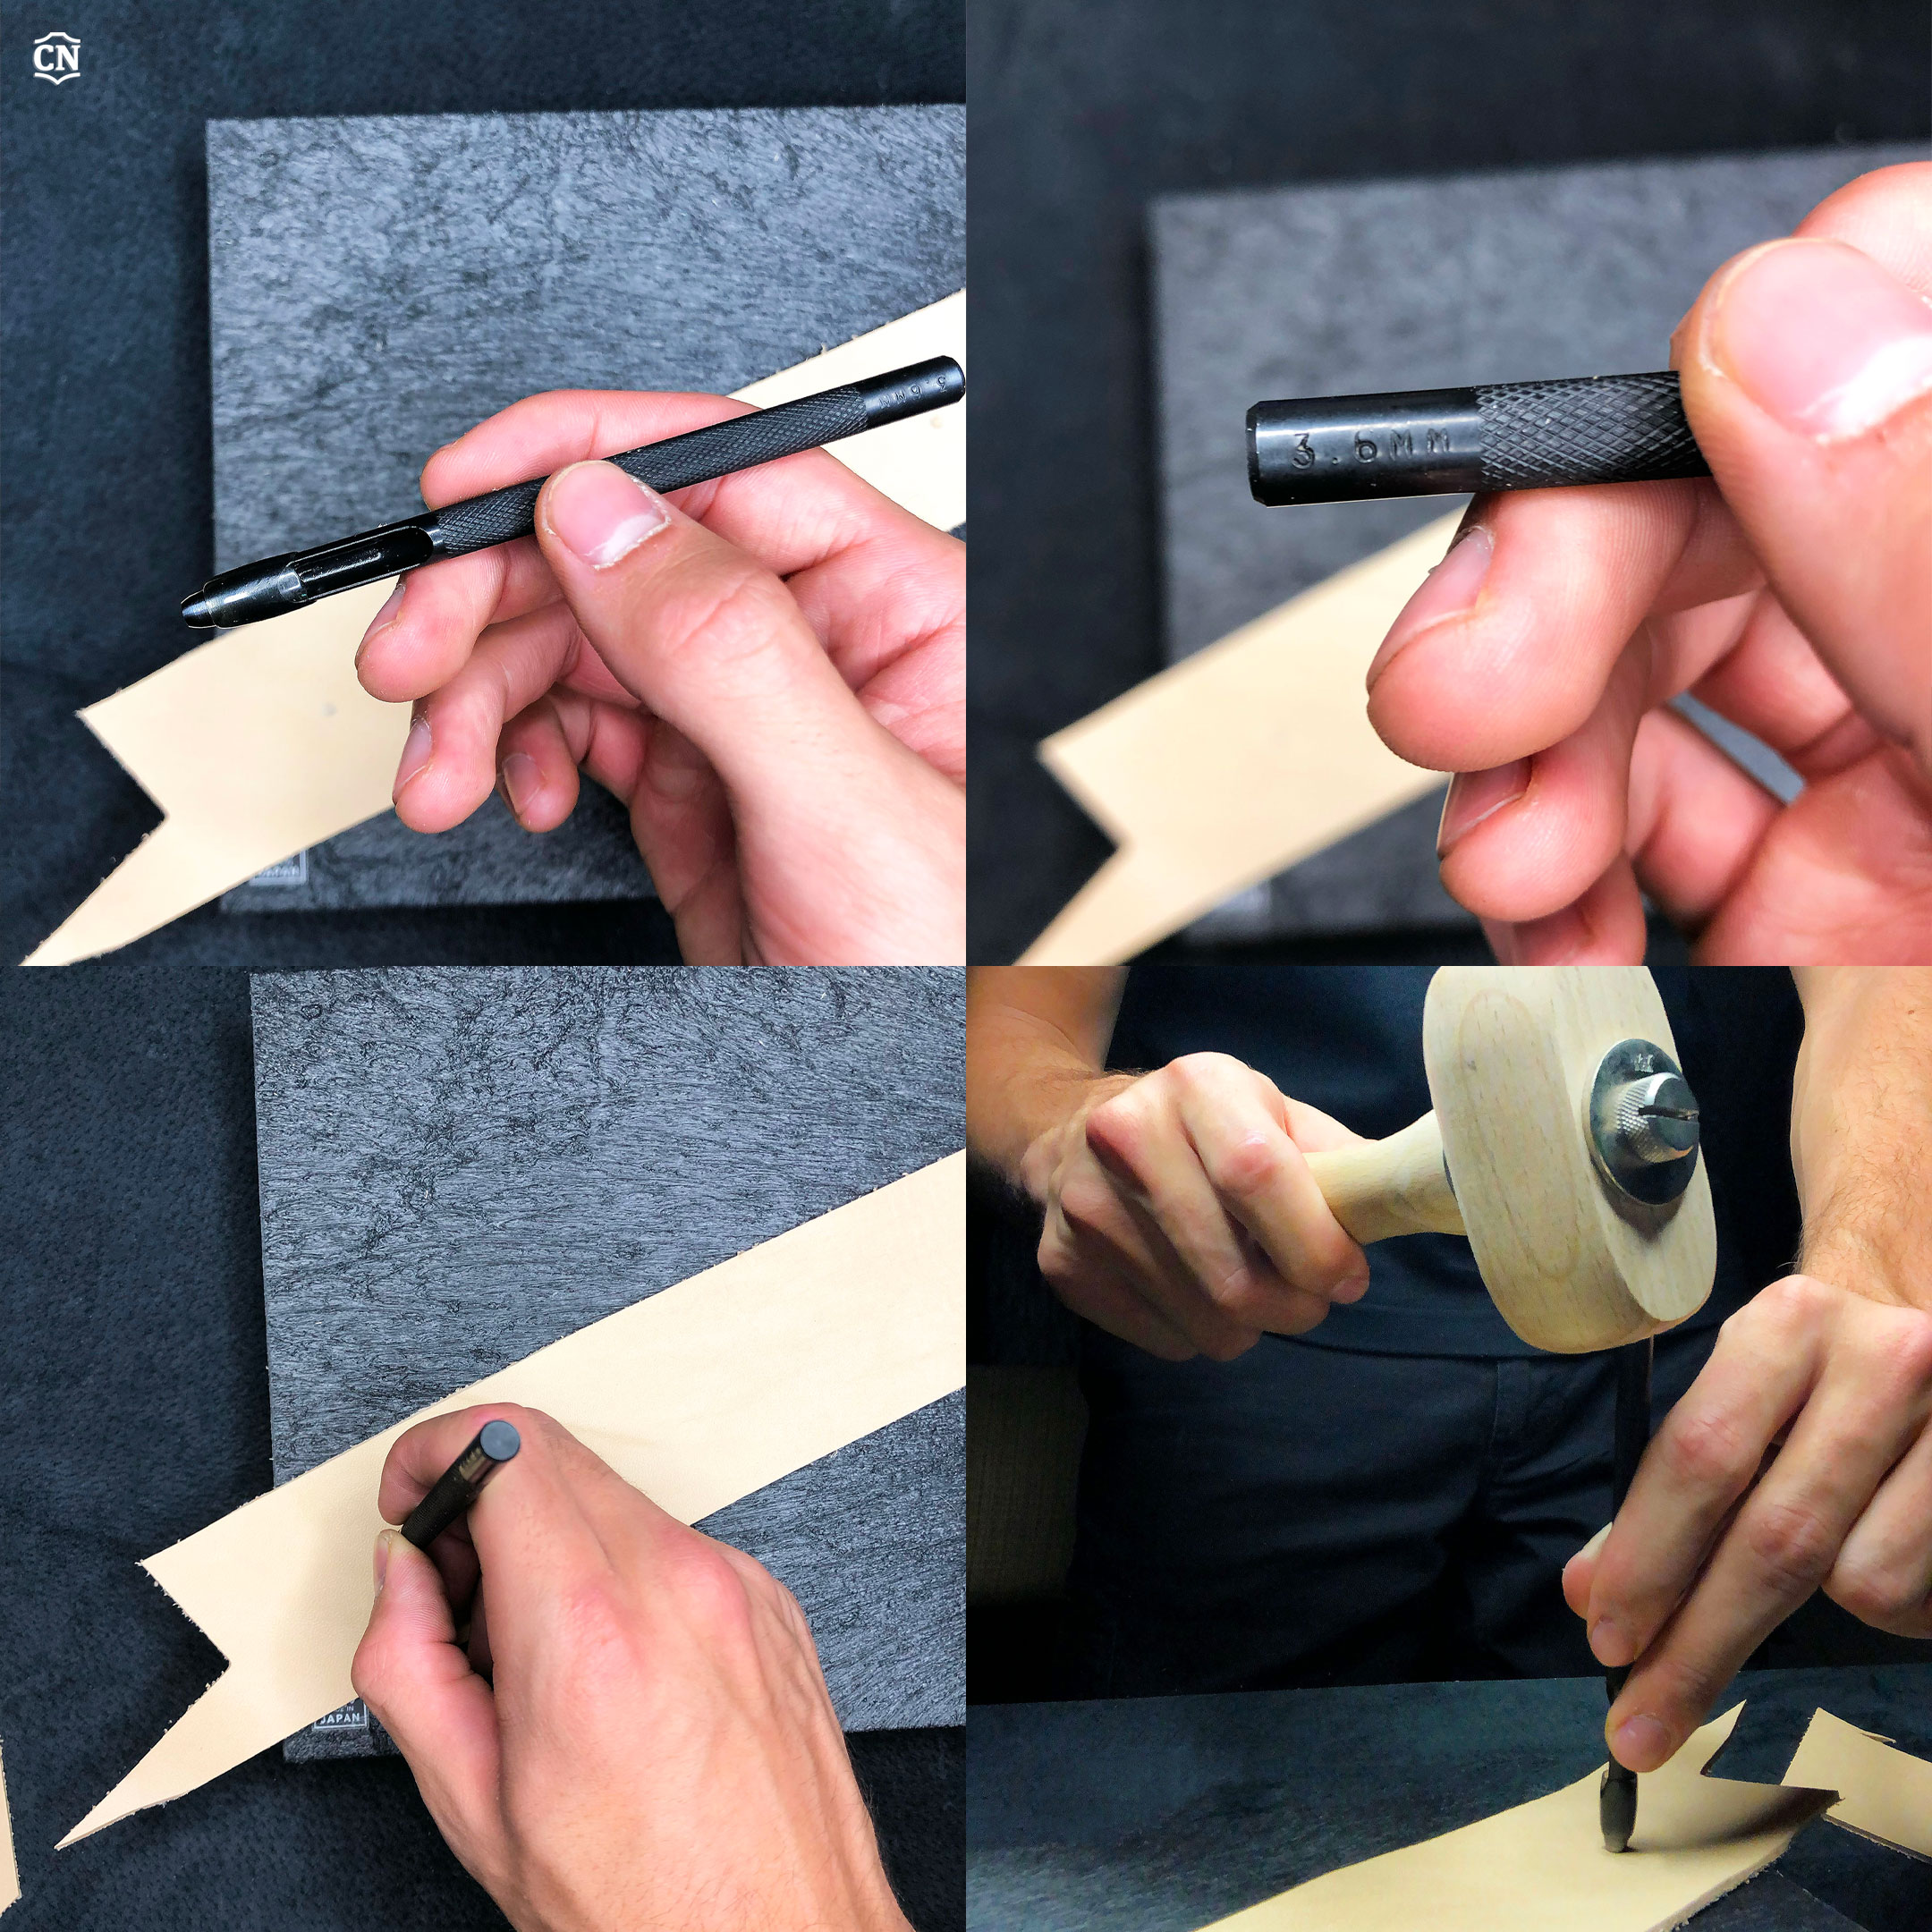
Once your leather has been marked, pierce it with a round hole drive punches
Once your leather has been marked, pierce it with a round hole drive punches. Here too, the diameter of your punch must match that of your button*. It is obvious that if the hole is too big, the button becomes useless.
*Here, the correct slice diameter is 3.5 mm for a 12 mm button.
Position your wooden maul at the top of the round hole drive punches, give 3 blows, then repeat the same action on the other side of the leather.
Step 3:
Once you have both holes, it’s time to crimp the fasteners on each side of your leather.
Start by assembling the female pieces on each side of the skin, then place them on the anvil*.
*The outer surface of the female button is flat, so it does not match the concave holes on the anvil and must be struck on the back of the anvil.
Step 4:
To crimp the fastener permanently, press your buttons with a glove snap setter.
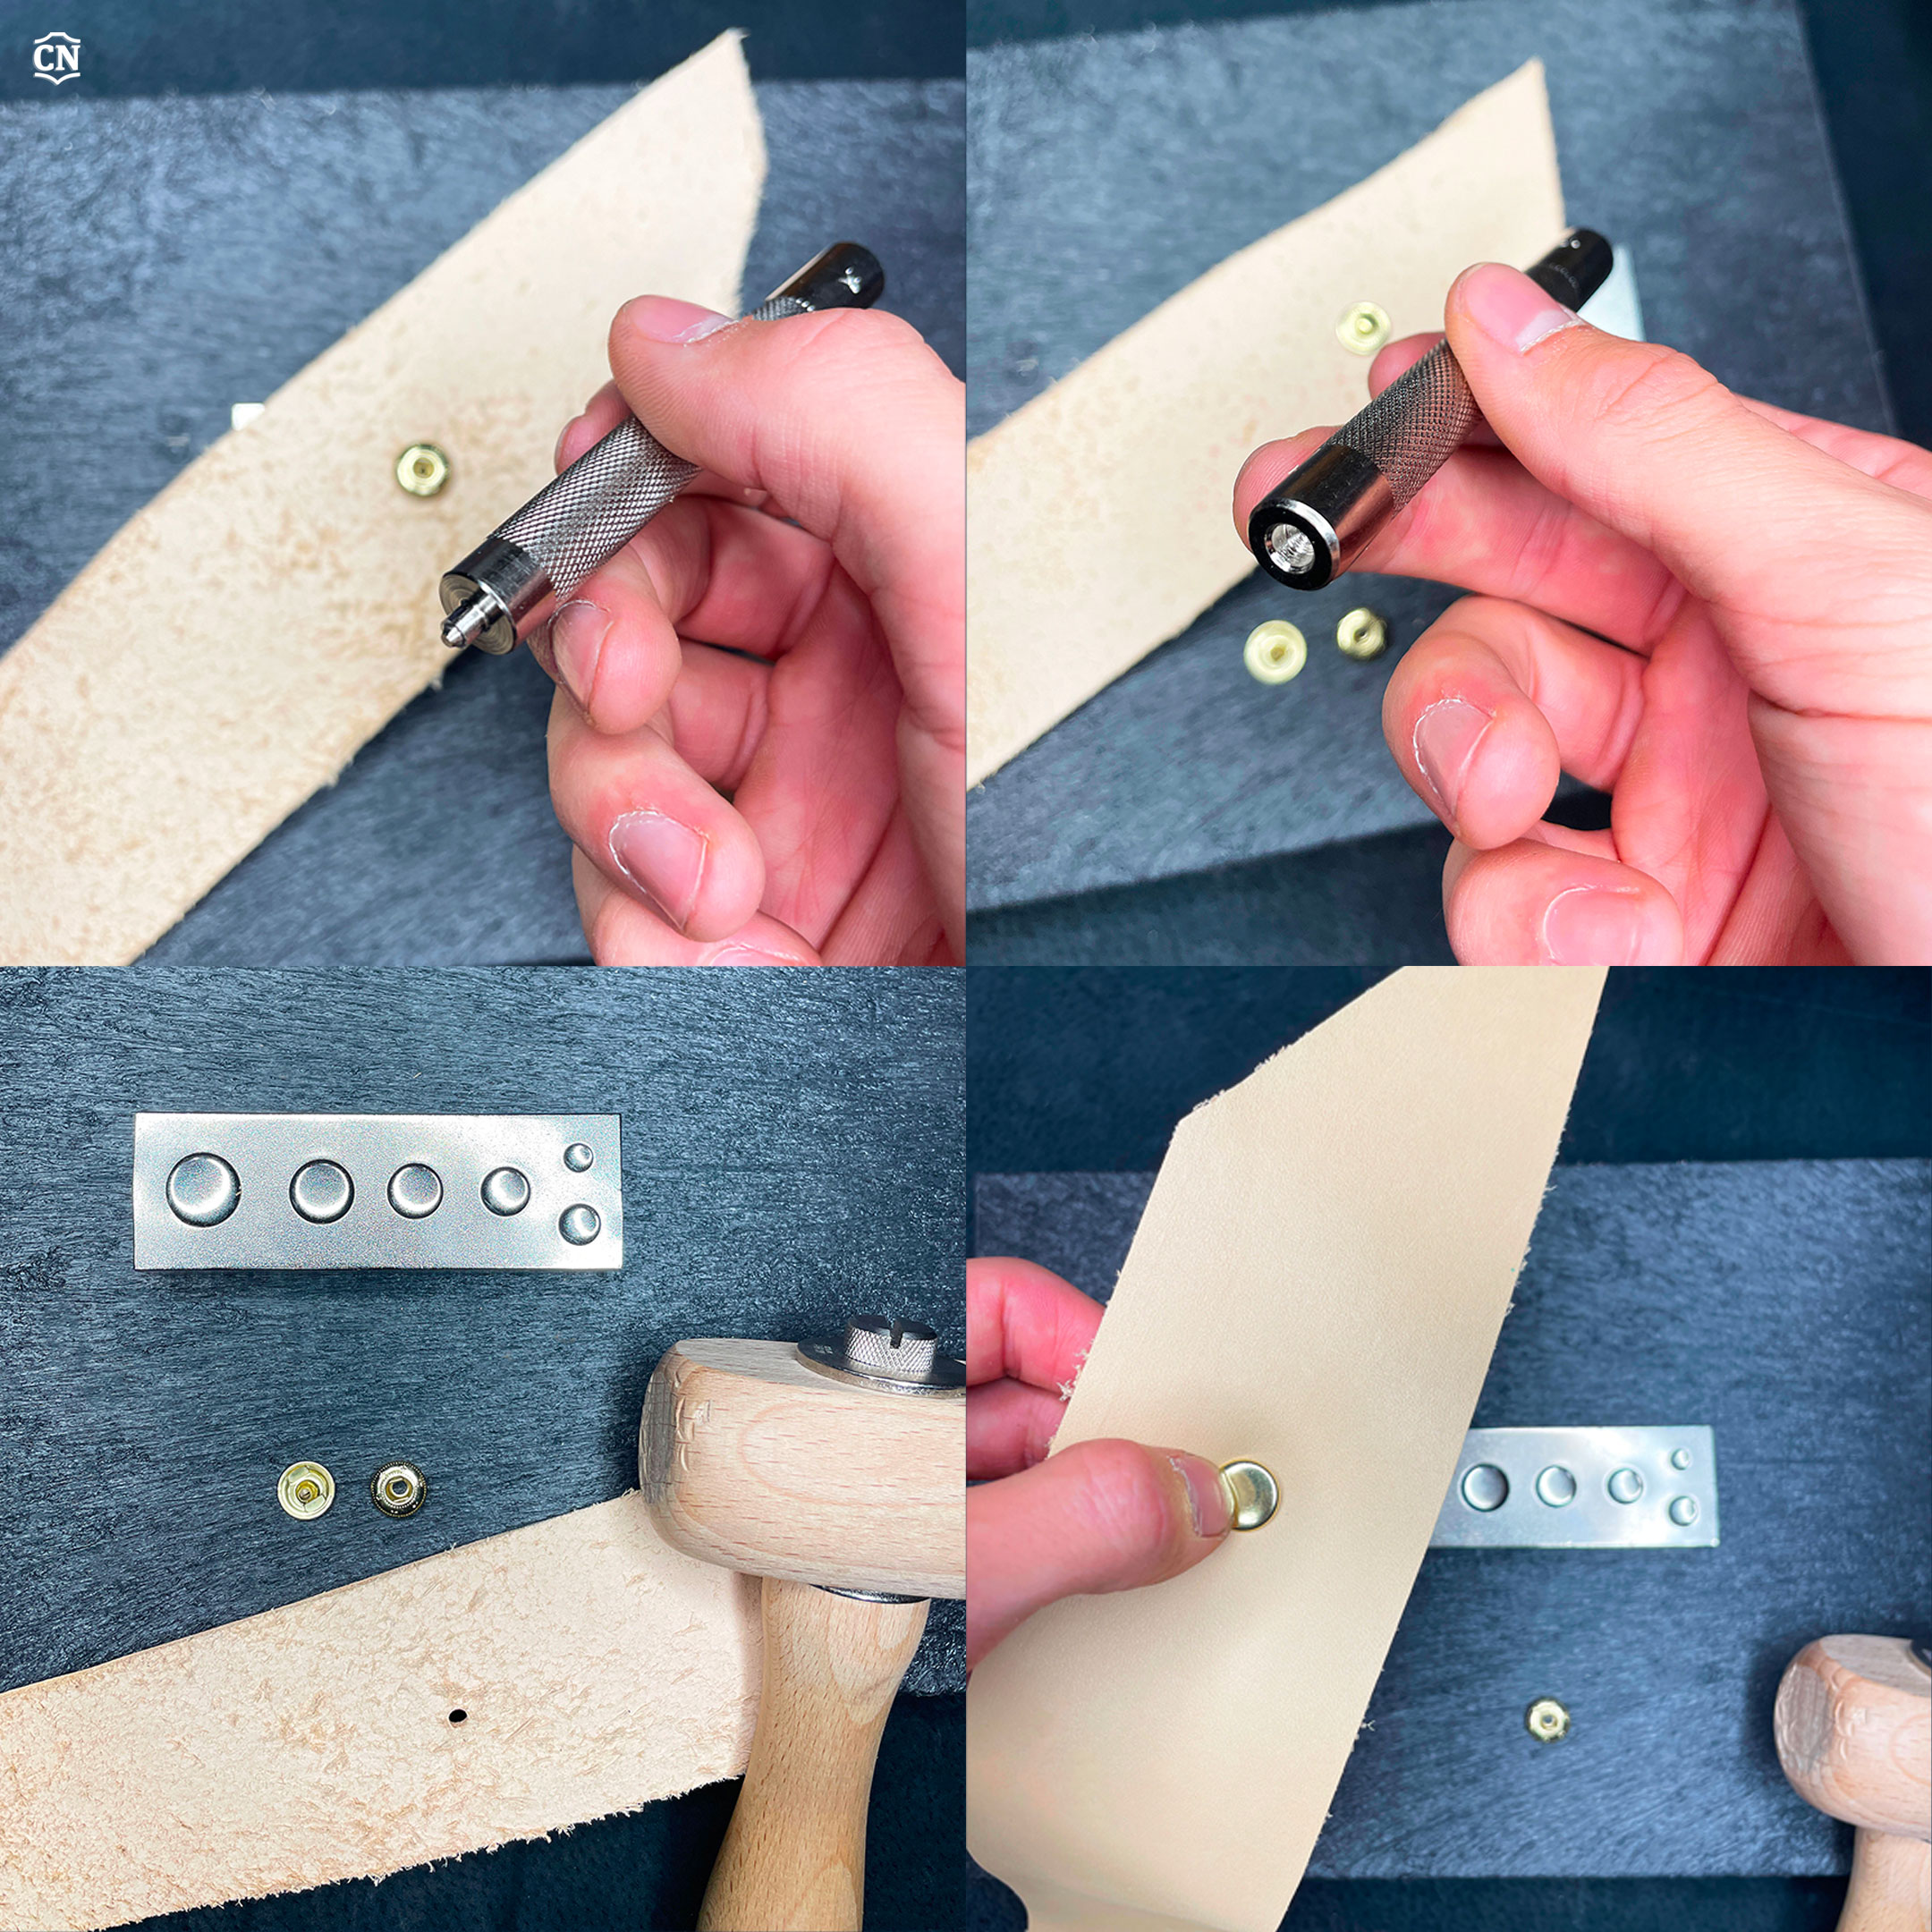
This tool is available in two models, one with a hollow head for holding male fasteners and one with a tip for pressing female parts.
This time, the head being rounded and not flat, the male models must be struck in the concave hole of the anvil corresponding to its diameter.
The anvil is very useful to leave no visible mark on your leather pieces, leather straps, and other wallets…
Final step :
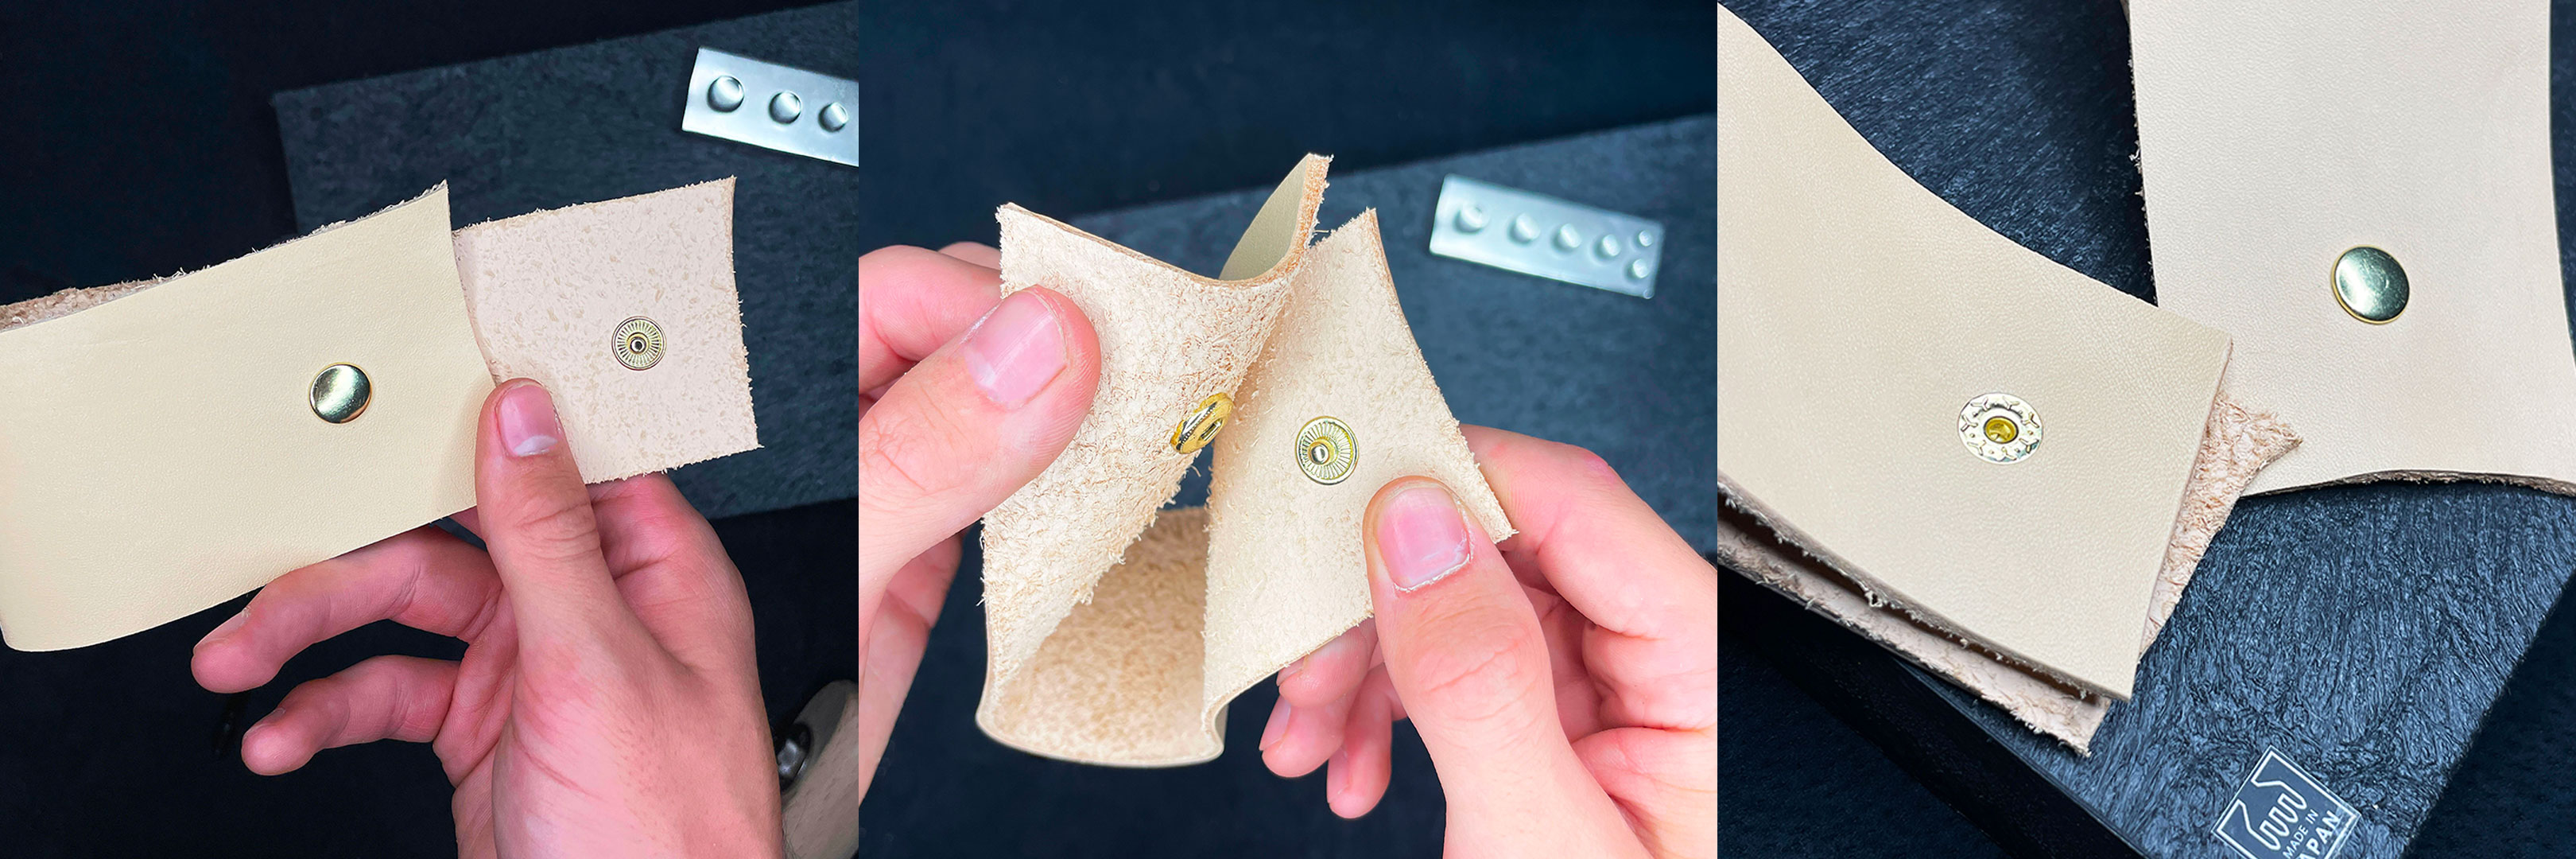
Congrats ! Your press buttons are now operational! Your leather strap is now clip-on; all you have to do is test the straps for strength.
If the fastener fails, don’t worry, there must be a reason:
- Leather is too thick, crimped incorrectly or buttons are not suitable for your creation.
It is often said that a picture is worth a thousand words :
We invite you to read our other articles on our BLOG.
You will find tips, tricks and technical elements that will allow you to become a real expert in the subject.